A Quick Guide to Vim Plugins
Take a look if you can tell the difference between these two vim configs. If you look very closely, you might be able to tell that one version of vim looks a lot better than the other:
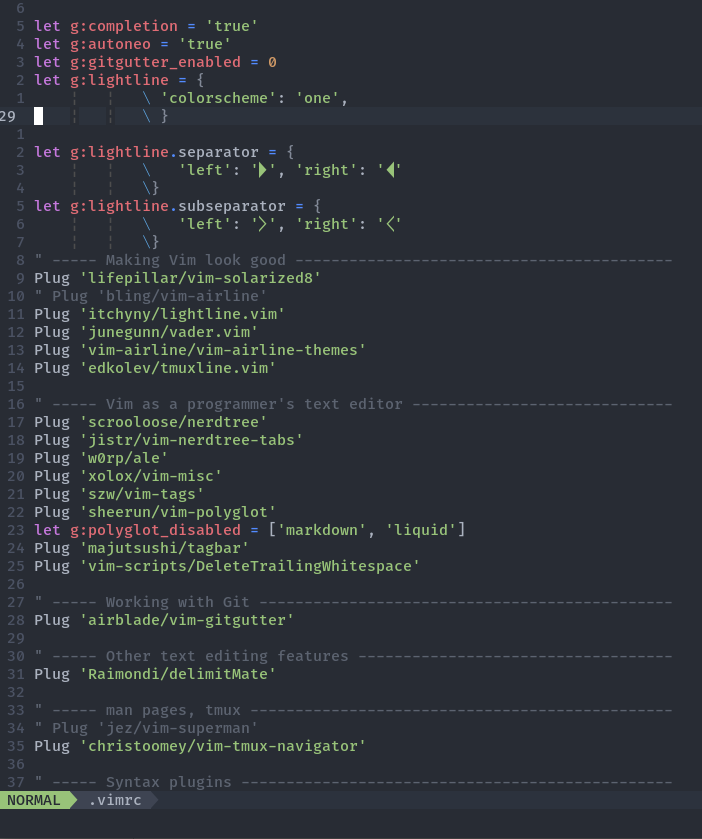
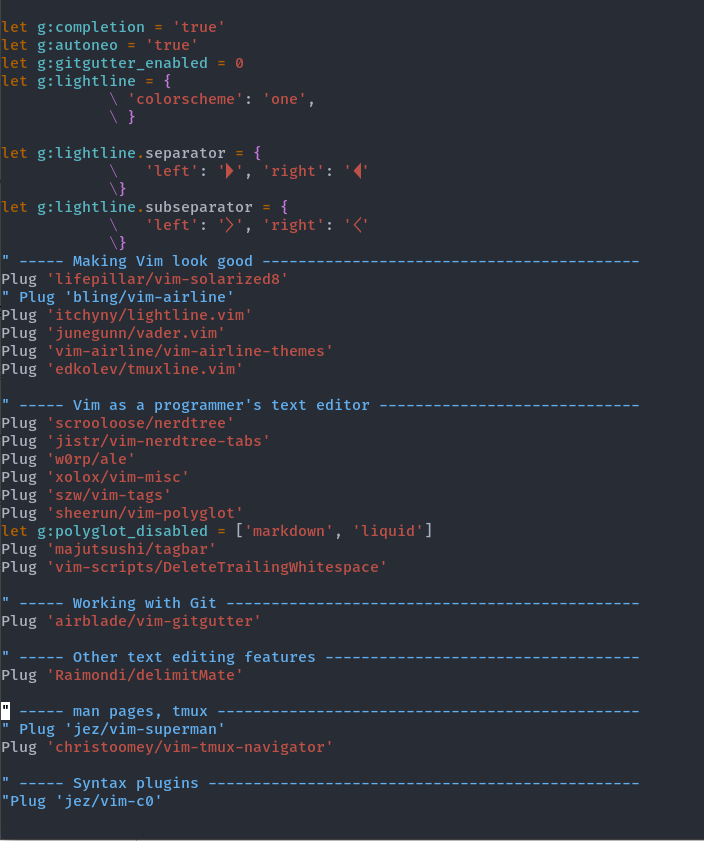
Unlike other IDE’s and text editors, vim doesn’t come with it’s batteries included. With vim you’re expected to do alot of the work of setting up the look by itself. Luckily there’s a huge plugin ecosystem that lets configure vim to look, feel, and act just like you want it to.
If you’re still unconvinced that you need vim, this blog post isn’t for you. Take a look here for some inspiration for why you should give the ol’ editor a try. If you’re already a big fan of vim, just with some lackluster vim configurations, then you’re in the right place. That being said, the point of this blog isn’t to leave you walking away with a vim configuration that will wow anyone who looks over your shoulder as you use it. The goal is to leave you in a spot where you feel comfortable hacking on your vim configurations.
Installing vim-plug
Before you can download all your favorite plugins willy-nilly, you have to download the one plug. The one plugin to rule them all. Vim-plug
(Or vundle,
or pathogen), a plugin manager. vim has support for plugins but it’s difficult to set up since you need to manually install the plugin into your ~/.vim directory.
Plugin managers let you only suffer the pain of installing a vim plugin manually only once, for the plugin manager. After you install the plugin manager, you can configure your plugin manager to manage the installing and updating of all your other plugins.
To install vim-plug, just run this on your terminal
curl -fLo ~/.vim/autoload/plug.vim --create-dirs \
    https://raw.githubusercontent.com/junegunn/vim-plug/master/plug.vim
After this point installing any other plugin will as easy as writing Plug 'github-username/plugin-name', inside .vimrc. Although it
requires a teeny bit more setup, try it out and copy this next copy block into your vimrc.
" enables a DSL (a Domain specific language) for your plugin configurations
call plug#begin('~/.vim/plugged')
" inside these 'call lines' you can write 'Plug' instructions
" that specify each plugin you want to install

Plug 'Raimondi/delimitMate'

call plug#end()
once you’ve copied into your file, save and reload vim. To install your new vim-plugins, open vim again and run :PlugInstall.
Now you’ll install hyour first plugin! DelimitMate is that solves one of the peskiest
things about default vim. When writing in insert mode, normally vim won’t auto insert the closing bracket, paranthesis or quote
to anything. With DelimitMate that issue is solved. Reload vim and try it out!
Using vim-plug
Now that you have vim-plug installed, you only need to remember three new commands:
:PlugInstallThis lets you install new plugins after you add them into the.virmc:PlugUpdateRun this everyone once in while to update all your plugins:PlugCleanRun this to delete any plugins you stopped using (after you remove it from the.vimrc).
What’s next?
Well that’s about all you need to get started. The world’s your oyster. For more cool plugins to use there’s a lot stuff online to help you find out about new ones. Take a look at vimawesome to find more plugins, and take a look at vimcolors to find some color themes to use for your vim.